- by Pepper Development
DIY Projects: Creating Your Own Feather Boas at Home
- by Pepper Development
Feather boas are not just accessories; they are statements of style and flamboyance that have graced many a glamorous event and costume. Originating from the decadent halls of the 19th-century cabaret scenes, these feathery creations have become synonymous with both luxury and fun. Making your own feather boa at home offers a personalized touch to this classic adornment, allowing for customization in color, length, and fullness, not to mention the satisfaction that comes with DIY crafts. This guide will lead you through the necessary steps and tips to create your very own feather boa, making sure that the end product is as unique as the maker.
The benefits of crafting a feather boa at home go beyond just the creative output. It is also a cost-effective alternative to purchasing pre-made, often expensive, boas from stores or online. Additionally, this project can be a delightful way to spend an afternoon, resulting in a product that can be used in numerous ways—from jazzing up your evening outfits to adding an extra touch to various festive decorations.
Before diving into the crafting process, it’s essential to gather all the necessary materials. The primary material, of course, is feathers. These can range from ostrich to turkey to marabou, depending on the texture and look you desire. Besides feathers, you’ll need a base for your boa, which is typically a long strip of fabric or cord, strong thread to match the feathers, and a needle.
Sourcing quality materials is crucial for a successful DIY boa. Feathers can be found at craft stores or specialized online retailers that offer a variety of types and colors. It's important to choose feathers that are not only beautiful but also durable enough to withstand sewing and handling. Fabric strips or cords should be flexible yet sturdy, as they will serve as the spine of your boa.
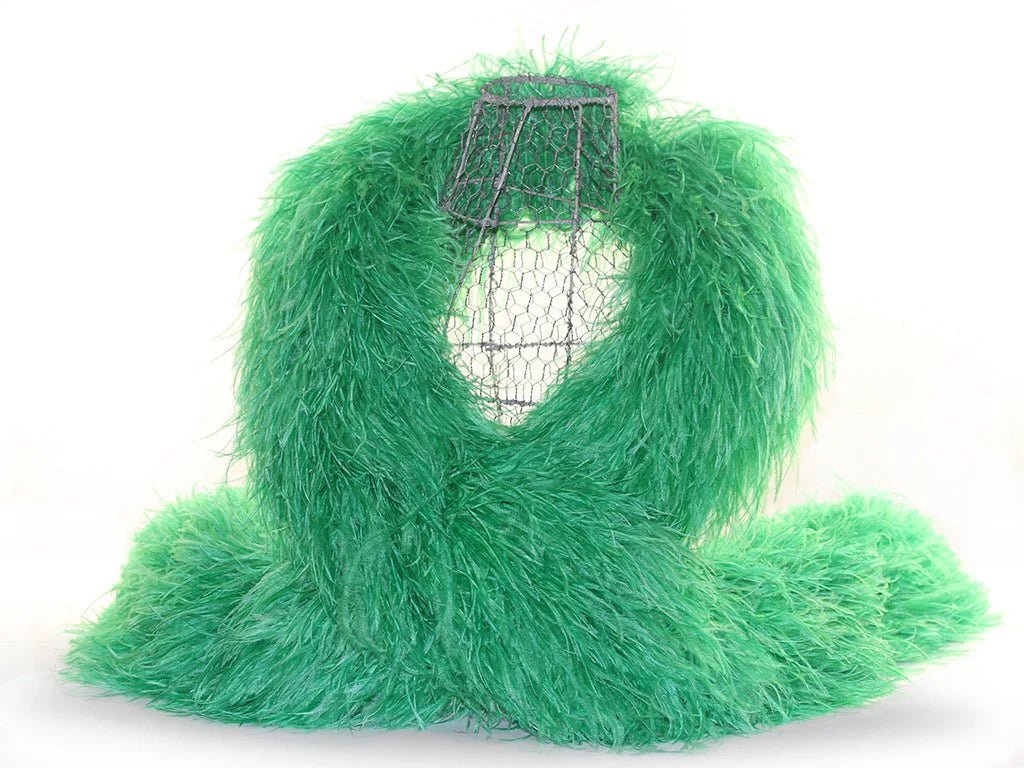
The type of feather you choose will significantly impact the overall look and feel of your boa. Ostrich feathers, for example, are known for their luxurious and fluffy appearance, making them perfect for a dramatic, voluminous boa. Turkey feathers, on the other hand, provide a sleeker look and are somewhat easier to handle due to their sturdier spine.
When selecting feathers, consider the length and color that will best suit your project. If you are aiming for a subtle, elegant boa, natural colors like whites, blacks, and browns are ideal. For something more eye-catching, dyed feathers in vibrant colors can be used. Ensure that all feathers are of similar length and quality to maintain a consistent and professional look throughout the boa.
You will need a few basic tools to assemble your feather boa effectively. A sharp pair of scissors is crucial for cutting fabric and trimming feathers if necessary. A sturdy needle and strong thread are essential for attaching the feathers securely to the base fabric. Depending on the thickness of the fabric and the density of the feathers, you may require a thicker needle or a specialized sewing machine.
Optional tools that can enhance the making process include a hot glue gun for additional adhesion (especially for adding embellishments), and a thimble to protect your fingers while sewing. If you plan to dye any feathers yourself, protective gloves, dye, and a container for the dye bath will also be necessary.
Creating a dedicated workspace is vital to the success of any DIY project. Start by selecting a clean and spacious area that allows you to spread out your materials and tools. A large table or flat surface is ideal, as it gives you a solid base to work on. Make sure the lighting in your workspace is sufficient, as you’ll need to see fine details clearly when aligning and sewing the feathers.
Keep your workspace organized by arranging all your tools and materials neatly before you start. This setup not only helps in maintaining a flow while working but also prevents any accidental damage to the materials. Consider laying down a sheet or disposable tablecloth to catch any feather debris or spills, especially if you are dyeing feathers.
To start assembling your boa, lay out the base fabric or cord on your workspace. Begin attaching the feathers one at a time, starting from one end and working to the other. Use a simple stitch to secure each feather to the base. It's important to overlap the feathers slightly to ensure that the base is not visible and the boa appears full and lush.
As you sew, keep the feathers aligned so that they all face the same direction. This alignment will give your boa a smooth, professional look. Be patient during this process as rushing can lead to unevenness and gaps in the feathers. After sewing, go back and add additional stitches where necessary to reinforce the feathers, ensuring they are firmly attached and will not come loose with wear.
Once the basic feather boa is assembled, you can start
to add personal touches that reflect your style. Consider dyeing some of the feathers beforehand for a custom color gradient or creating patterns by alternating different colored feathers. Embellishments such as beads, sequins, or small crystals can be sewn along the boa for extra sparkle and elegance.
Another creative idea is to incorporate ribbons or lace into the boa for a mixed-media effect. These materials can be woven through the feathers or used as a trim to define the edges of the boa. Such unique touches not only enhance the visual appeal of your feather boa but also make it distinctly yours.
To finish your feather boa, it’s important to secure the ends and ensure that all materials are intact. Use a backstitch to reinforce the stitching at both ends of the boa, as these areas tend to undergo the most stress during use. If any feathers feel loose, secure them with additional stitches or a small dab of glue.
Trim any excess base material from the ends of the boa, and consider adding a small loop or hook for easy hanging and storage. Finally, give your boa a gentle shake and a once-over to remove any loose feathers or debris. This step also helps to fluff the feathers, ensuring that your boa looks as full and luxurious as possible.
Proper maintenance is key to ensuring your feather boa remains beautiful and functional for years. Store your boa in a cool, dry place away from direct sunlight to prevent fading and deterioration. Hang it up or store it loosely in a box to avoid crushing the feathers.
Cleaning your boa should be done carefully and infrequently. If necessary, lightly hand wash with a gentle detergent, avoiding vigorous scrubbing that can damage the feathers. Allow the boa to air dry completely before storage. For quick refreshes, a gentle pass with a hairdryer on a cool setting can help restore volume and remove dust.
Safety is paramount when handling crafting tools and materials. Always use scissors with care, and keep sharp tools out of reach of children. If you are using a hot glue gun or dyes, work in a well-ventilated area and wear protective gear such as gloves and masks to avoid inhalation of fumes or contact with skin.
Be aware of allergies, as some people may be sensitive to natural feathers. Ensure that your crafting area is kept clean and that you wash your hands after handling feathers, especially if they are dyed, as the color can sometimes transfer.
Creating your own feather boa at home is not just a crafting project; it's an opportunity to express your personal style and engage in a rewarding and creative activity. With the right materials, tools, and techniques, anyone can create a stunning feather boa that adds a touch of glamour to any occasion. So, gather your supplies, unleash your creativity, and start crafting a beautiful feather boa that you can proudly wear or display.
Share:
The Role of Feathers in Burlesque: A Celebration of Opulence and Fantasy
The Best Occasions to Wear a Feather Boa