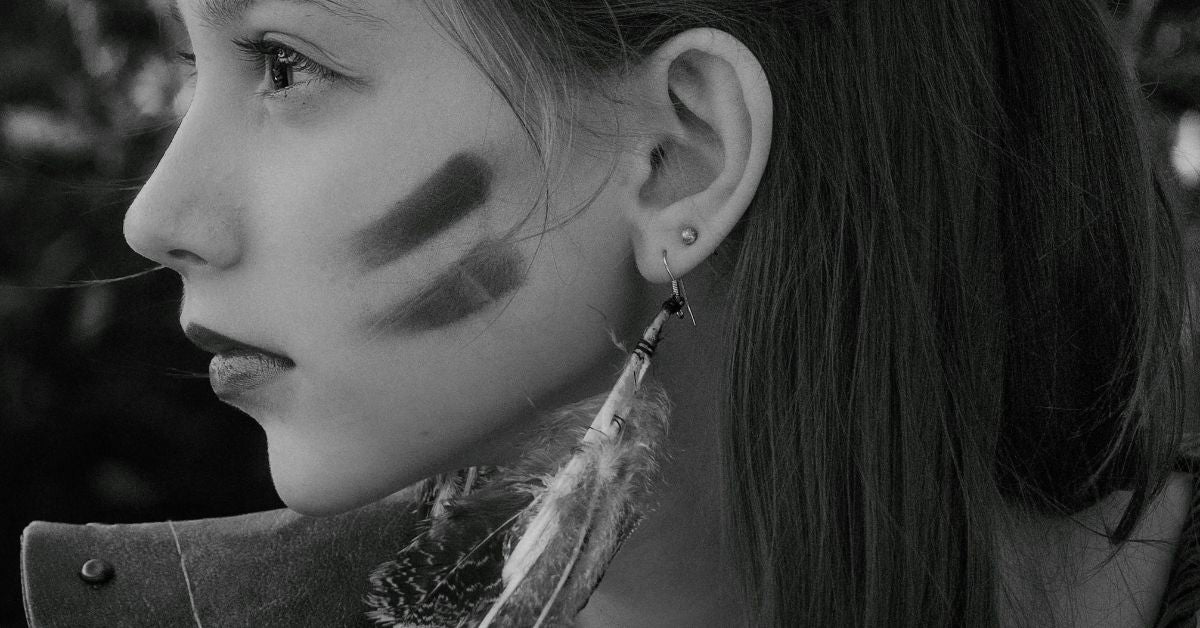
Feathers have captivated the human imagination for millennia. From the profound symbolism of ancient Egyptian Ma'at feathers to the bold, free-spirited statements of 1960s bohemian fashion, these natural wonders have always represented freedom, creativity, and a connection to the ethereal. Today, the runways of high fashion and the shelves of major retailers are once again adorned with luxurious feather accessories, from dramatic earrings to elegant home decor. However, acquiring these pieces often comes with a designer price tag.
What if you could bypass the boutique and create your own exquisite, personalized feather creations? The art of DIY feather accessories is not only accessible but also immensely rewarding. It allows you to imbue your style with a unique, handcrafted touch that no store-bought item can replicate. This comprehensive guide is designed to be your ultimate resource. We will delve deep into the world of ostrich feathers, providing you with step-by-step instructions, expert tips, and ethical considerations to empower you to craft stunning jewelry and decor that truly reflects your personal aesthetic. Prepare to unlock your creativity and transform simple plumes into wearable art.
Why Ostrich Feathers? The Ultimate Material for DIY
Not all feathers are created equal. While you might be tempted to use whatever you find in a generic craft kit, choosing the right feather is the single most important factor in achieving a professional result. For DIY accessories, the ostrich feather reigns supreme, and for several compelling reasons.
First and foremost is their unparalleled softness and structure. Ostrich feathers, specifically the "drab" type (the fluffy, plume-like feathers from the body) and "floss" (the even softer, wispier feathers), lack the hard, rigid central quill found in many other feathers. This makes them incredibly flexible and gentle against the skin, which is non-negotiable for jewelry like earrings and necklaces. Compare this to a stiff turkey or cock feather, which would be itchy and uncomfortable, and the difference is clear.
Secondly, ostrich feathers are durable and resilient. Their barbules—the individual strands that make up the plume—are designed to interlock, which helps them hold their shape and resist breaking apart with careful handling. This durability ensures your beautiful creations will last for seasons to come.
Gathering Your Toolkit: Essential Supplies for Feather Crafting
Before you begin your crafting journey, it’s crucial to assemble your toolkit. Having everything at your fingertips will make the process smooth and enjoyable. Here’s a breakdown of what you’ll need:
The Star of the Show: Feathers. Stock up on ostrich drabs (5-8 cm is perfect for earrings), larger plumes for necklaces and decor, and perhaps some marabou for adding texture and volume.
Jewelry-Making Hardware: This is the foundation of your pieces.
-
Findings: Earring hooks (leverback are most secure), jump rings, headpins, eyepins.
-
Chains & Cord: Delicate metal chains, silk cord, or leather thong for necklaces.
-
Connectors: Crimp beads or tubes to secure cords.
The Right Adhesives: Not all glues are created equal. For a bond that lasts, you need a industrial-strength adhesive like E6000 or a strong craft glue like Gem-Tac. These dry clear and flexible, preventing brittle bonds that can snap.
Essential Tools:
-
Precision Scissors: For clean, accurate cuts on feathers and thread.
-
Jewelry Pliers: A must-have set includes chain-nose pliers (for gripping and bending), round-nose pliers (for creating loops), and wire cutters.
Embellishments (Optional but Fun): This is where you personalize. Collect seed beads, crystals, pearls, small charms, and metal beads or caps to add weight and a professional finish to your designs.
Pre-Craft Prep: How to Clean, Fluff, and Trim Your Feathers
Your feathers may have been compressed during shipping, so a little prepping is necessary to make them look their best. This crucial step is often overlooked but is the secret to a polished final product.
Start by gently inspecting your feathers. If they need a light cleaning, use a soft, slightly damp cloth to wipe down the quill (the central stem). Avoid getting the plumes themselves wet, as this can damage their structure.
Next, fluffing. Feathers love steam. You can use a garment steamer held about a foot away, or carefully pass the feather through the steam from a boiling kettle. The moisture will help the barbules relax and separate, restoring the feather’s full, luxurious volume. Simply hold the feather by the quill and let the steam waft through it for a few seconds. Gently shake it and let it air dry completely.
Finally, trimming. Use your sharp precision scissors to shape the feather. You might want to trim the quill shorter for an earring or carefully snip the plume into a more symmetrical shape. Always trim less than you think you need to start—you can always cut more later.
Project 1: Bohemian Ostrich Feather Tassel Earrings
Let’s start with a classic and incredibly popular project: bohemian-inspired tassel earrings. These are surprisingly simple to make but have a high-impact, designer look.
What You’ll Need:
-
3-5 small ostrich drabs (mix colors for a fun effect!)
-
Strong thread (embroidery floss or jewelry thread) or thin gauge wire (26-28g)
-
Leather cord or satin ribbon (a small piece for wrapping)
-
E6000 glue
-
Jump rings
-
Leverback earring hooks
-
Jewelry pliers
-
Scissors
Step-by-Step Instructions:
-
Select and Stack: Choose your feathers and stack them neatly, aligning the quills at the top. Play with the arrangement until you’re happy with the color and volume.
-
Wrap and Bind: Using your thread or wire, tightly wrap the top quarter-inch of the quills together. Wrap until the bundle feels very secure. Tie a firm knot if using thread or twist the wire ends together. Trim any excess.
-
Secure and Conceal: Apply a small dab of E6000 glue to the wrapped section. This will lock everything in place. Now, take your small piece of leather cord or ribbon and wrap it tightly around the glued, wrapped section, covering the mechanics completely. Secure the end of the wrap with another tiny dab of glue. Hold it for a moment until it sets. This step gives a incredibly professional, finished look.
-
Attach the Hardware: Using your chain-nose pliers, carefully open a jump ring. Do not pull it open sideways; twist it open by moving one side towards you and the other away. Slide on the top loop of your feather tassel and then the leverback earring hook. Close the jump ring by twisting it back into place, ensuring the seam is completely shut.
Pro Tip: Before you wrap the quills, slide a small, beautiful bead onto the bottom of the feathers. When you wrap, the bead will be secured at the tip of the tassel, adding a lovely weight and a touch of elegance.
Project 2: Statement Ostrich Feather Necklace
For a truly dramatic piece, a statement necklace is the way to go. This project allows you to create a centerpiece conversation starter.
What You’ll Need:
-
1 large, beautiful ostrich plume (or a small cluster of drabs)
-
A delicate chain or silk cord long enough to be a necklace
-
A headpin or wire to create a bail
-
Optional: Bead cap, crystals, other beads for embellishment
-
Jewelry pliers, wire cutters, glue
Step-by-Step Instructions:
-
Choose and Prepare Your Centerpiece: Select your star feather. Trim the quill to your desired length. To prevent the quill from splitting and to add a professional touch, you can dip the very tip in a small amount of glue or, even better, cap it. A bead cap (a small, cup-shaped finding) glued to the end of the quill looks exquisite.
-
Create the Bail: The bail is the loop that connects the feather to the chain. Take a headpin or a piece of wire and form a small loop at one end (using your round-nose pliers). Now, glue this loop horizontally to the back of the feather’s quill, about a centimeter from the top. Ensure it is securely attached and let the glue dry completely. Alternatively, you can purchase pre-made glue-on bails.
-
Assemble the Necklace: Once the bail is secure and the glue is dry, thread your chain or cord through the bail. If you’re using a cord, you may need to use a crimp bead to secure it.
-
Add Layers for Depth: For a more complex look, create a second, shorter strand. You can string beads onto a headpin or make a very small feather tassel. Use a jump ring to connect this shorter strand to the same jump ring that connects your chain to the bail, creating a multi-layered effect.
Project 3: Elegant Feathered Hair Clips & Barrettes
Integrate feathers into your hairstyle with this quick, easy, and utterly glamorous project. It’s a perfect way to use smaller feathers or create a coordinated set with your earrings.
What You’ll Need:
-
A plain metal hair clip, barrette, or bobby pin
-
1-3 small ostrich drabs
-
E6000 or a hot glue gun (for speed)
-
Optional: Embellishments like small pearls or crystals
Step-by-Step Instructions:
-
Select Your Base: A classic metal clip or a wide barrette provides a good surface area for gluing.
-
Prepare and Arrange: Choose your feathers and arrange them on the clip to plan your design. Do you want them to flow to one side? Fan out? Keep it simple?
-
Glue Securely: Apply a generous amount of E6000 (or a strong dot of hot glue) to the base of the clip. Quickly press the quills of your feathers firmly onto the glue. Hold them in place for at least 30-60 seconds to ensure a strong initial bond.
-
Reinforce and Embellish: For extra security and a finished look, once the initial glue is dry, you can add another small line of glue and wrap the quills with a matching thread or a thin ribbon. This is also the time to glue on small pearls or crystals to hide the glue line and add sparkle.
Project 4: Dreamcatcher with Ostrich Feather Accents
Bring the bohemian vibe into your home with a custom dreamcatcher. Ostrich feathers add a soft, flowing texture that traditional feathers can’t match.
What You’ll Need:
-
An embroidery hoop or metal ring
-
Suede lace or yarn for wrapping
-
String for the web (sinew, embroidery floss, or yarn)
-
Assorted feathers (ostrich plumes for softness, plus maybe 1-2 larger turkey or pheasant feathers for structure)
-
Beads, charms, crystals
-
Scissors, glue
Step-by-Step Instructions:
-
Wrap the Hoop: Secure the end of your suede lace to the hoop with a knot and a dab of glue. Tightly wrap the entire hoop, covering it completely. Overlap the lace as you go to ensure no hoop is visible. Secure the end with another knot and glue.
-
Weave the Web: This is the traditional center. Tie your string to the top of the hoop. Create a series of lark's head knots or a classic web pattern by looping the string around the hoop at intervals, moving in a circular pattern towards the center. There are many simple tutorials for this online. Slide beads onto the string as you weave for added color.
-
Create Feathered Tassels: This is where your ostrich feathers shine. Use the same tassel-making technique from the earring project to create 3-5 feather tassels. Instead of earring hooks, leave a loop at the top of each.
-
Assemble and Hang: Cut several lengths of suede lace and tie them to the bottom of the hoop. Attach your feathered tassels to these strings using lark's head knots. Add beads to the strings above the tassels. You can also glue smaller feathers directly to the wrapped hoop for extra flair. Finally, create a loop at the top for hanging.
Beyond Basics: Creative Embellishments and Techniques
Once you’ve mastered the fundamentals, it’s time to play! Here are some advanced techniques to make your creations truly one-of-a-kind:
-
Dip-Dyeing: Create a stunning ombre effect by carefully dipping the tips of natural white ostrich feathers into fabric dye. Follow the dye instructions, submerge just the ends, and let them dry completely before using.
-
Wire-Wrapped Stems: For a rustic, artisanal look, take a piece of gold or silver wire and meticulously wrap it around the entire length of the quill, from tip to plume. This reinforces the quill and adds a beautiful metallic element.
-
Beaded Barbs: For the truly patient and detail-oriented crafter, try stringing tiny seed beads onto the individual barbs of the feather. This creates an incredible, shimmering effect but requires a steady hand and plenty of time.
Caring for Your Feather Creations
To ensure your beautiful accessories stand the test of time, proper care is essential.
-
Storage: Store feather earrings and necklaces flat in a box lined with tissue paper, or hang them to prevent crushing. Keep them away from direct sunlight, which can fade the colors.
-
Cleaning: The best way to clean feathers is with air. Use a hairdryer on its coolest setting to gently blow away dust. For a deeper clean, you can very gently swish the feathers in a bowl of lukewarm water with a drop of mild soap. Rinse in clean water, gently shake off excess, and reshape. Let them air dry completely away from heat before fluffing.
-
Handling: Avoid getting your feathers wet from rain or perfume, and be mindful of hairspray.
Sourcing Sustainably: An Ethical Crafter's Note
As crafters who appreciate nature’s beauty, it’s important to consider the ethical sourcing of our materials. The vast majority of ostrich feathers available from craft suppliers are a byproduct of the ostrich meat and leather industry. Reputable suppliers collect these feathers from farms that raise ostriches for these primary purposes, meaning the feathers are utilized rather than wasted.
When purchasing, look for vendors who are transparent about their sourcing. Phrases like "naturally molted" or "sourced as a byproduct" are good indicators. While truly "wild-sourced" feathers are rare and often regulated, buying from established craft suppliers ensures you are not contributing to demand for feathers from wild birds. For those who prefer to avoid animal products entirely, high-quality synthetic feathers have improved dramatically and can be a fantastic alternative for many decor projects.
Conclusion
The world of DIY feather accessories is rich with possibility. It’s a craft that blends the raw beauty of nature with the satisfaction of creating something uniquely yours. With this guide, you have the knowledge to select the right materials, the skills to execute foundational techniques, and the inspiration to explore your own creative visions. From the delicate sway of a handcrafted earring to the dramatic statement of a feathered necklace, each piece you create carries a story of your creativity and effort. So, gather your ostrich plumes, unleash your imagination, and start crafting. Your personalized, bohemian-chic masterpiece awaits.


Share:
The Role of Feather Accessories in Cultural Ceremonies and Festivals
More Than Fluff: The Ultimate Guide to Feather Boas for Costumes & Cosplay