Step-by-Step Guide to Making Your Own Feather Fans
Pepper DevelopmentIntroduction
Feather fans have been a symbol of elegance and grace across various cultures and epochs, serving both functional and ceremonial purposes. In many societies, these fans are more than just tools for air circulation; they represent status, spiritual significance, and artistic expression. This guide will delve into the creation of feather fans, an enjoyable craft that allows for personal expression through a combination of artistry and practical skill.
Today, feather fans are not only used in performances and ceremonies but also as stylish accessories or home decor. The process of making a feather fan involves careful selection of materials, thoughtful design, and meticulous assembly. Whether you aim to create a fan for a special event or as a unique gift, understanding the basic steps can help you produce a beautiful and lasting item. Let’s explore the essentials of crafting your own feather fan, from choosing the right feathers to the final touches that make your creation truly stand out.
Choosing the Right Materials
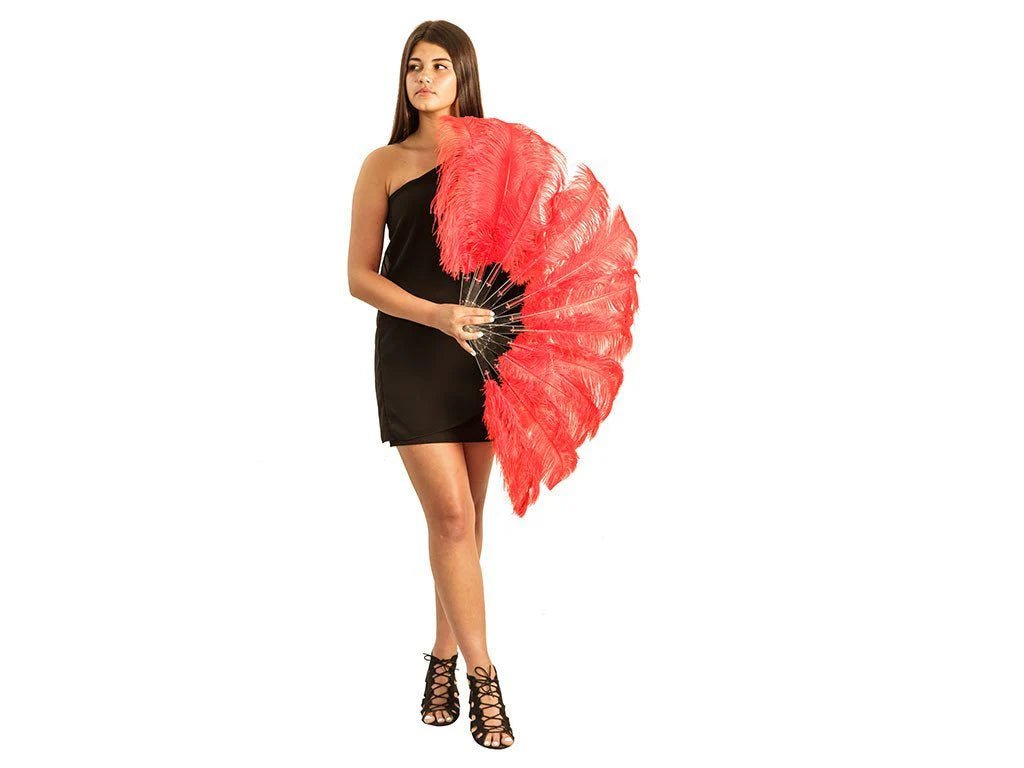
The first step in making a feather fan is selecting the appropriate materials. Feathers are the heart of the fan, so their quality and type will significantly impact the overall look and feel. Common choices include peacock, ostrich, and turkey feathers, each offering different textures, colors, and lengths. The choice of feathers depends on the desired aesthetic and the fan’s purpose; softer feathers may be ideal for a delicate, decorative fan, while sturdier feathers are best for fans intended for frequent use.
Choosing the handle is equally important, as it affects the fan's durability and comfort in use. Wooden handles are popular for their classic look and sturdy feel, but plastic and metal are alternatives that offer lightweight and often more affordable options. The handle should complement the feathers in both style and color, creating a cohesive and attractive design. Additionally, consider decorative elements like beads, ribbons, and fabric to further personalize your fan, making it a true reflection of your artistic vision.
Tools Needed for Feather Fan Making
Having the right tools at your disposal can make the process of making a feather fan much smoother and more enjoyable. Basic tools include sharp scissors for cutting feathers and fabric, strong glue or a hot glue gun for assembly, and wire cutters for shaping any supportive structures. These tools are essential for precise work that ensures a high-quality finish.
For those looking to expand their crafting skills, optional tools such as pliers for bending wires or a needle and thread for attaching decorations can be useful. These tools allow for more complex designs and can help secure the feathers more robustly to the handle. Whether you are a beginner or an experienced crafter, starting with a well-equipped workspace will facilitate a successful and satisfying fan-making experience.
Planning Your Design
Before diving into the construction, planning your fan's design is crucial. Start by sketching out the layout to visualize the arrangement and scale of the feathers. This preliminary step helps in adjusting proportions and achieving the desired style before the actual assembly begins. Consider the fan's overall shape—whether it's a traditional round fan or a more modern, angular design— and plan the feather placement accordingly.
Selecting a color scheme is another vital part of the design process. Whether you choose natural feather hues or decide to dye feathers for a custom palette, the colors should harmonize with each other and with the event or setting where the fan will be used. Additionally, think about the size of the fan. A larger fan might be more visually striking but could be less practical to handle, whereas a smaller fan might not make as much of an impact but could be more versatile for various occasions.
Preparing the Feathers
Once your design is set, the next step is to prepare the feathers. This begins with cleaning them thoroughly to remove any dust or oils, which not only improves the appearance but also ensures that any adhesives used will bond properly. If the feathers are not pre-trimmed, you will need to cut them to the desired length, keeping in mind that uniformity in size can significantly enhance the fan's aesthetic.
For those who wish to add a splash of color, dyeing feathers is an option. Using fabric dyes can achieve vibrant colors that can transform the look of your fan. Be sure to follow the dye instructions carefully, and allow the feathers to dry completely before assembly. This step requires patience and precision but can result in a truly personalized and unique end product.
Constructing the Handle
The handle is both a functional and decorative part of the feather fan. Begin by choosing a handle that feels comfortable in the hand and balances well with the weight of the feathers. You can shape wooden handles by carving or sanding them into a smooth, ergonomic form. For a more ornate look, you can adorn the handle with carvings or inlays.
Once the handle is shaped, it needs to be secured. This can be done using strong adhesives or, for a more traditional approach, with bindings of wire or thread. Decorating the handle is an opportunity to be creative: wrapping it in velvet ribbon
or attaching beads and semi-precious stones can add a touch of luxury and appeal. The decoration should not only enhance the aesthetics but also provide a comfortable grip.
Attaching Feathers to the Handle
Attaching the feathers securely is crucial for a durable fan. Start by arranging the feathers according to your design, laying them out to ensure even spacing and a pleasing pattern. For the strongest bond, use a high-quality craft glue or a hot glue gun. Apply the adhesive carefully to avoid seepage that could mar the feathers’ appearance.
For added durability, consider using wire to affix the feathers to the handle. This method can provide extra support, especially for heavier feathers. The key here is to ensure that the feathers are not only securely attached but also aligned in a way that maintains the fan's balance and ease of opening and closing. After attaching the feathers, let the adhesive set completely before moving on to add decorative elements.
Adding Decorative Elements
Once the basic structure of the fan is complete, it’s time to personalize it with decorative elements. Beads, ribbons, and fabric can be used to embellish the fan, enhancing its visual appeal and uniqueness. Placement is crucial: decorations should be balanced and proportionate, enhancing the design without overwhelming it.
Techniques such as sewing or gluing can be used to attach these elements securely. When choosing adhesives, consider the weight and material of the decorations to ensure they hold well without damaging the feathers. This stage is where your creativity can shine, as the choice of decorations can dramatically alter the fan's look, from elegant and subtle to vibrant and eye-catching.
Final Assembly and Finishing Touches
In the final assembly stage, inspect your fan for any loose elements and reinforce them as needed. Make sure that all adhesives and fastenings are secure and that the fan opens and closes smoothly. This functionality is crucial, as a fan that does not operate well loses much of its practical value.
To ensure longevity, consider applying a protective finish, such as a spray sealant, which can prevent damage from humidity and handling. This step is particularly important if the fan will be used frequently or displayed in an area prone to dust and contact.
Using and Caring for Your Feather Fan
Proper use and care are essential for maintaining your feather fan in pristine condition. Always handle the fan gently, especially when opening and closing it. Avoid exposing it to excessive moisture or heat, which can damage the feathers and loosen adhesives.
For maintenance, periodically check the fan for any signs of wear or damage, and clean the feathers gently with a soft brush or cloth. Store the fan in a cool, dry place, ideally in a protective case or cover that prevents dust accumulation and physical damage.
Conclusion
Creating your own feather fan is a rewarding project that blends creativity with craftsmanship. Each step, from selecting materials to applying finishing touches, offers opportunities for personal expression and artistic exploration. We hope this guide inspires you to try your hand at this ancient craft, adapting it to reflect your personal style and vision. Share your creations online or in craft forums to inspire others, and don't hesitate to experiment with different materials and designs. Happy crafting!